
How to make a DSLR Camera Rain Cover
21 May 2015 Technique
DSLR cameras are quite expensive. And the accessories that we need to build up a camera setup are not cheap as well. For example if you have an entry level camera and want a remote shutter release, you may get away with $20. But to get a remote shutter release for an advance amateur or pro level camera you have to spend $200.
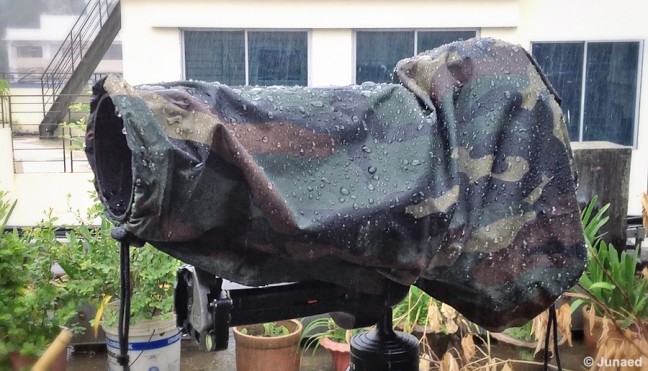
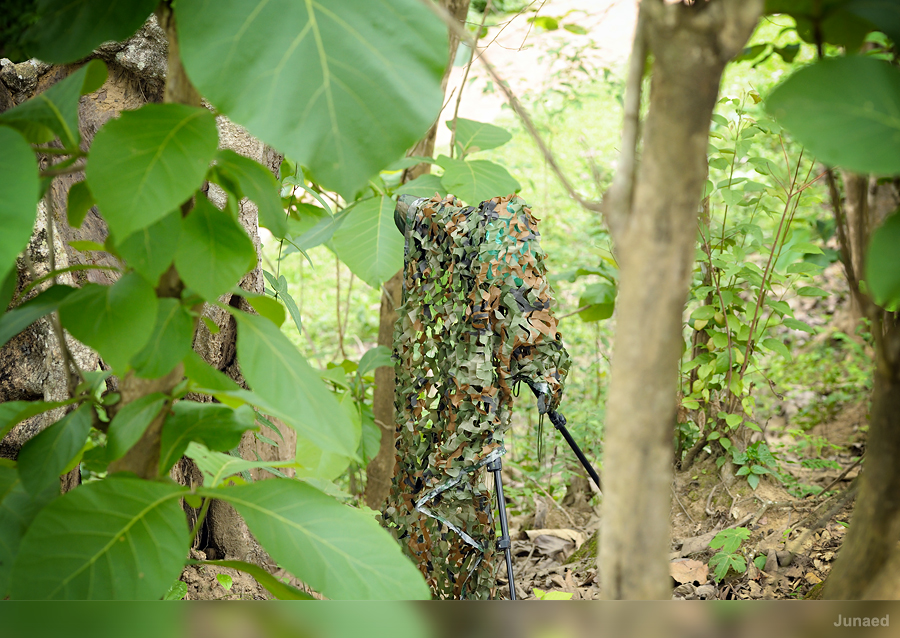
For me and many others taking picture in a bad weather require good protection to our gear. Few days back I set up my camera at a hill side to take the picture of a nesting bird. The cloud was getting heavy, so I prepared for heavy rain. Below is a picture of my set up on location.

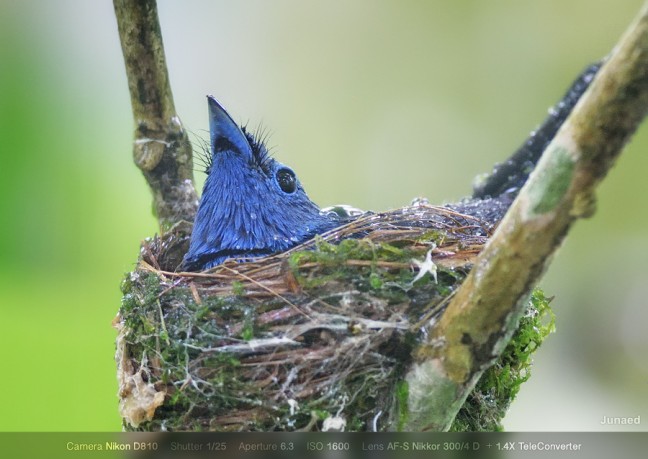
While it was raining heavy I was firing the camera with a wireless remote from 30 ft away. After 20 minutes in heavy rain and taking enough picture I retreated to shelter. And here is the image I was looking for.
Good Camo Rain Covers are sold around $70 a piece. The Camera Rain Cover I have been using here and in many other occasion is something I made for myself. You can also make your own DSLR rain cover. The things you need are as follows-
1. Water proof Fabric (2 yard)
2. Velcro (1 ft)
3. Bungee Cord / Shock cord with lock
4. Rain Cover Forma ( Download )
Steps
1. Download the Forma and print them on A4 size paper. The first page shows how to glue the four pieces together. Now cut out the forma. This is the basic size I provided that will be enough for most users.

2. Remember the forma shows only one half of the Rain Cover. Fold the water proof fabric to make two layer. Now place the forma on the fabric and use a pencil to draw the shape on the fabric. (Try it on an old Newspaper first before you cut the real fabric, if you are satisfied with the size and understand how its going to fit together then work on actual fabric.)

3. Cut the fabric. Stitch free ends of the whole fabric marked by small dash line, like below. I took the help of a tailor to do it for me.


4. Now make the tunnels at both front and back end. To do that fold the fabric stitch along the big dash line. Through it the cords will pass through.


5. Fold the fabric and stitch the bottom part, except the area for velcro. Attach a 1 cm wide velcro along the free end of the bottom part.

6. Put bungee cord / shock cord with lock through the tunnels.

7. I use a good shower cap to protect the back end of camera when not using in rain.

Thus you can make your own DSLR Rain Cover.
You can watch how the whole thing performs in the video below.
But if don't want to take this pain, you can get them at B&H or Amazon